 Grilling Ribs is a favorite to the recipes of the grill. Is there any one word in the culinary lexicon that evokes so much happiness, controversy and memories? In a lot of ways, ribs are barbecue. They are where barbecue began. (The word barbecue comes from the French phrase “barbe a queue”, meaning “whiskers to tail” and hearkens back to the days when a cook-out meant cooking a whole pig, including the ribs, outdoors over hot coals). They are, for many people, where barbecue ends. Depending on where you come from, ribs could be pork or beef or even mutton! They could also be finished with a vinegar based sauce or a tomato based sauce or even not sauced at all. However, no matter where you come from, one thing is sure – the best ribs are cooked low and slow. This means the meat was cooked for a long time at a lower temperature. In this article, you’re going to learn this “low and slow” method so that the next time you’re grilling ribs, you’re grilling them right.
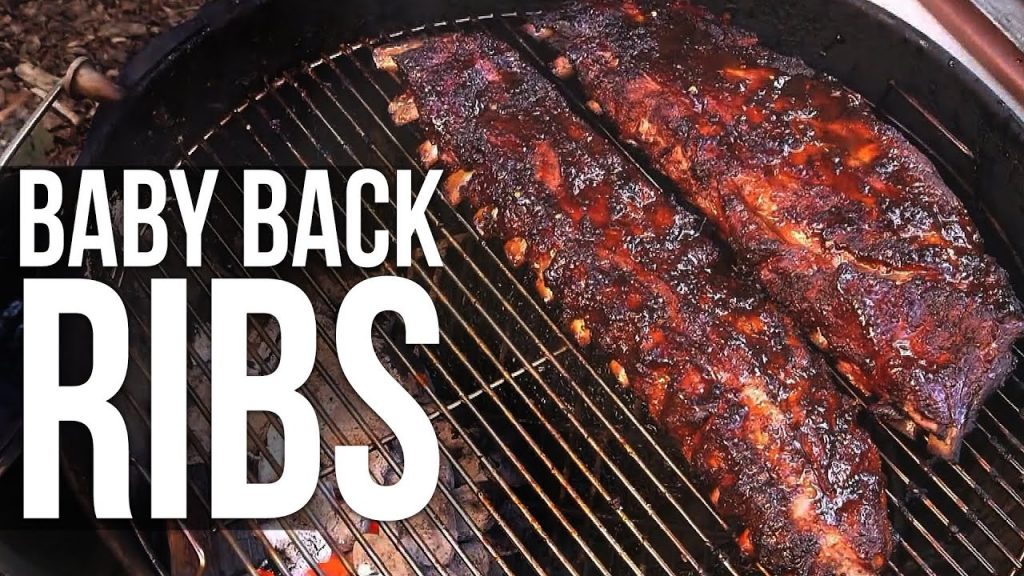
The first step when grilling ribs is to decide what kind of ribs you want to grill. There are a lot of choices which range from the type of meat to the type of ribs. One way to simplify the process is to go with pork and to choose a cut know as the spareribs. Pork spareribs are meaty, tender and generally available. Because they tend to cook evenly when treated right, they are a good choice for the beginning outdoor chef. When you get your spareribs home, rinse them with cold water, pat them dry and season them to taste. This seasoning, also known as a “rub”, can be any combination of flavorings, herbs and spices you care to use. A good rub is key when grilling ribs. Simply sprinkle your seasonings onto the ribs and, using a good amount of pressure, “rub” them in.
The next step in grilling ribs is setting up the grill. If you’re using charcoal (and you should), you want to start with a moderate amount of coals placed to one side of the grill bottom. Next to the coals place a foil pan. When the coals have ashed over, put on the grill itself and place your ribs over the foil pan. Next to the ribs, place another foil pan full of water. Why do it this way? Putting the coals off to one side, as well as not putting the ribs over coals, slows down the cooking process by indirectly grilling the meat. The foil pan next to the coals catches any drippings from the ribs, keeping them off the coals and prevents the coals from flaring up. Finally, the water in the foil pan next to the ribs will evaporate in the heat of the grill. This steam will help to keep the ribs moist during the time they are on the barbecue. So that’s it. Cover the grill and sit back. Enjoy your favorite cold beverage. You are now the pit master and, as master of your own pit, it is your job to keep the grilling ribs “low and slow” by occasionally replenishing the coals or the water in the grill as needed.
The final step in grilling ribs is the finish or the sauce. The ribs will be done when the meat is separating from the bone. (If you’ve done everything right, this will be three to four hours after you first put the ribs on the grill.) Now all you have to do is decide on the finish. There are a lot of good commercially prepared barbecue sauces out there. Choose one that matches your taste and apply it to the ribs just prior to removing them from the grill. Don’t leave the finished ribs on the grill. The sugars in the sauce caramelize and burn very quickly and will make your hours of effort at the pit a waste.
Remember, low and slow is the only way to go when you’re grilling ribs.